How to Scan Negatives: Digitizing Different Film Formats
Like many photography enthusiasts, you may have taken a special liking to analogue photography even
Like many photography enthusiasts, you may have taken a special liking to analogue photography even though digital has been around for long. Whether you have been at it for a while or have taken a new interest in this classic technique, there is much to learn.
Knowing how to scan negatives is a big part of analogue photography. Some enthusiasts would love to scan their own film negatives or even photo prints but do not quite know how, but it’s not really a daunting task once you know the basics. Scanning your negatives puts you in control of the output.
Negative Film Formats
If you want to know how to scan negatives, you need to have some knowledge first about the types of film formats available. It will help you decide which is best to use in certain applications and it also makes a difference in the scanning process. Here are some of the most used formats.
Let’s start at the very beginning.
116 Film and 616 Film
If you’re interested in the very beginning of negative films, get to know the 116 and 616 film. Introduced in 1899, the 116 film format was widely used until 1932 when Kodak introduced the 620 along with the 616.
The 616 film was quite similar to the first 116 but its negative stocks were wound on smaller spools so that they fit smaller cameras. The 116 film format was discontinued in 1984.
120 Film
Moving forward to 1901, the 120 film took the previous formats’ place and grew in popularity. This medium-format film is used for a wide variety of photography and is still quite popular today especially with the launch of the Holga, a medium-format camera made in Hong Kong.
Introduced by Kodak, this is the main format that amateur photographers use with their beginner or box cameras. But it later became a preferred format for professional photographers. For more information about scanning 120 film, we put up a definitive guide here.
Scanners for 120 film: CanoScan 9000F Mark II, Plustek OpticFilm 120 Film Scanner
220 Film
We can now move to 1965 when the 220 film was introduced. It has the same width as the 120 but double its length. You’ll see that it has twice the number of exposures for each roll. Another difference of the 220 is that it does not have a backing paper like the 120 film.
This design allows a longer film on the same size of spool. However, you wouldn’t see a printed frame number, the ones that can be seen from the frame indicator of old cameras. The film is thinner than the 120 that has a backing paper and it required a pressure plate for optimal focus.
Some cameras can accommodate both 120 and 220 films. These cameras are designed with two-position adjustment of the pressure plate and would have a switch so you can adjust the winding.
620 Film
Going back around 1932, the 620 film came about around the same time as the 616. This is what replaced the first 116 film that we’ve mentioned above. It is basically a roll film similar to the 120 with the same width and length.
127 Film
The 127 film is another type of roll film that is paper-backed. It is 4.6m wide and was originally designed to stock 8 photos in 4 x 6.5cm format. Kodak made it for their Vest Pocket camera and the film was often called Vest Pocket film.
126 Film
If you’ve ever heard of the Kodapak 126, this was the 126 film introduced in 1963. Its cartridge is a roll film magazine that has a paper backing. Kodak created the film in response to customer complaints about the complicated process of loading and unloading roll film cameras.
With the 126 cartridge film, you didn’t have to attach the film leader to a spool. It simply drops into the camera. The film was designed so that it cannot be loaded incorrectly. You only needed to close the back then you wind and shoot.
126 cameras are designed with a small hole that shows the back of the cartridge where you can see the film details printed on the film. It also shows the frame number located on the backing paper.
Scanners for 126 film: Jumbl 22MP All-In-1, Wolverine Titan 8-in-1
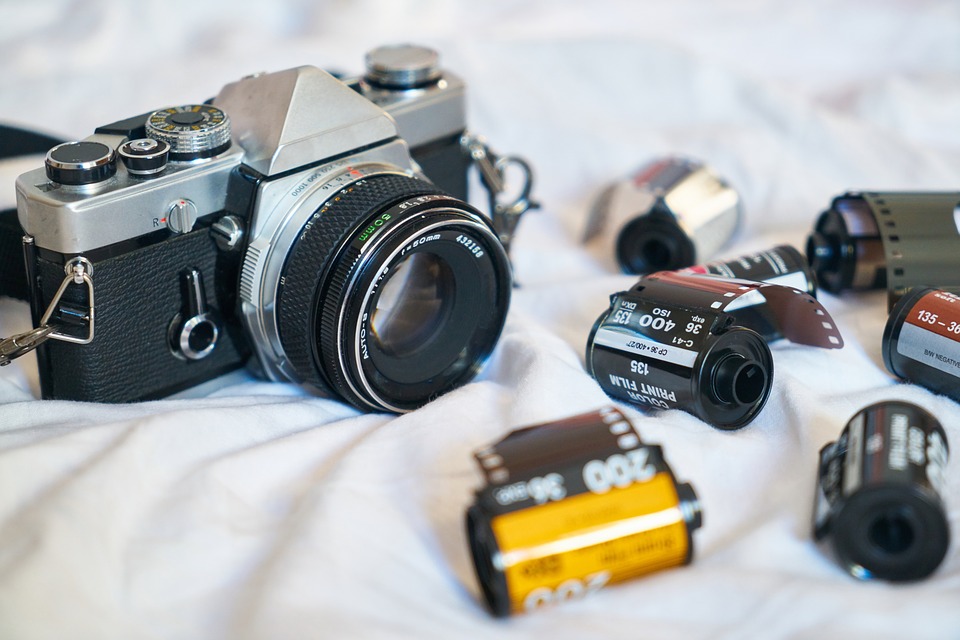
135 Film (35mm film canister)
Perhaps, the most popular film format until today is the 35mm negative film which was originally known as the 135 film. It was first developed as an experiment by Thomas A. Edison’s laboratory in New Jersey. It was made by splitting a 70mm roll film.
It took several years before Kodak made it one of their regular products.
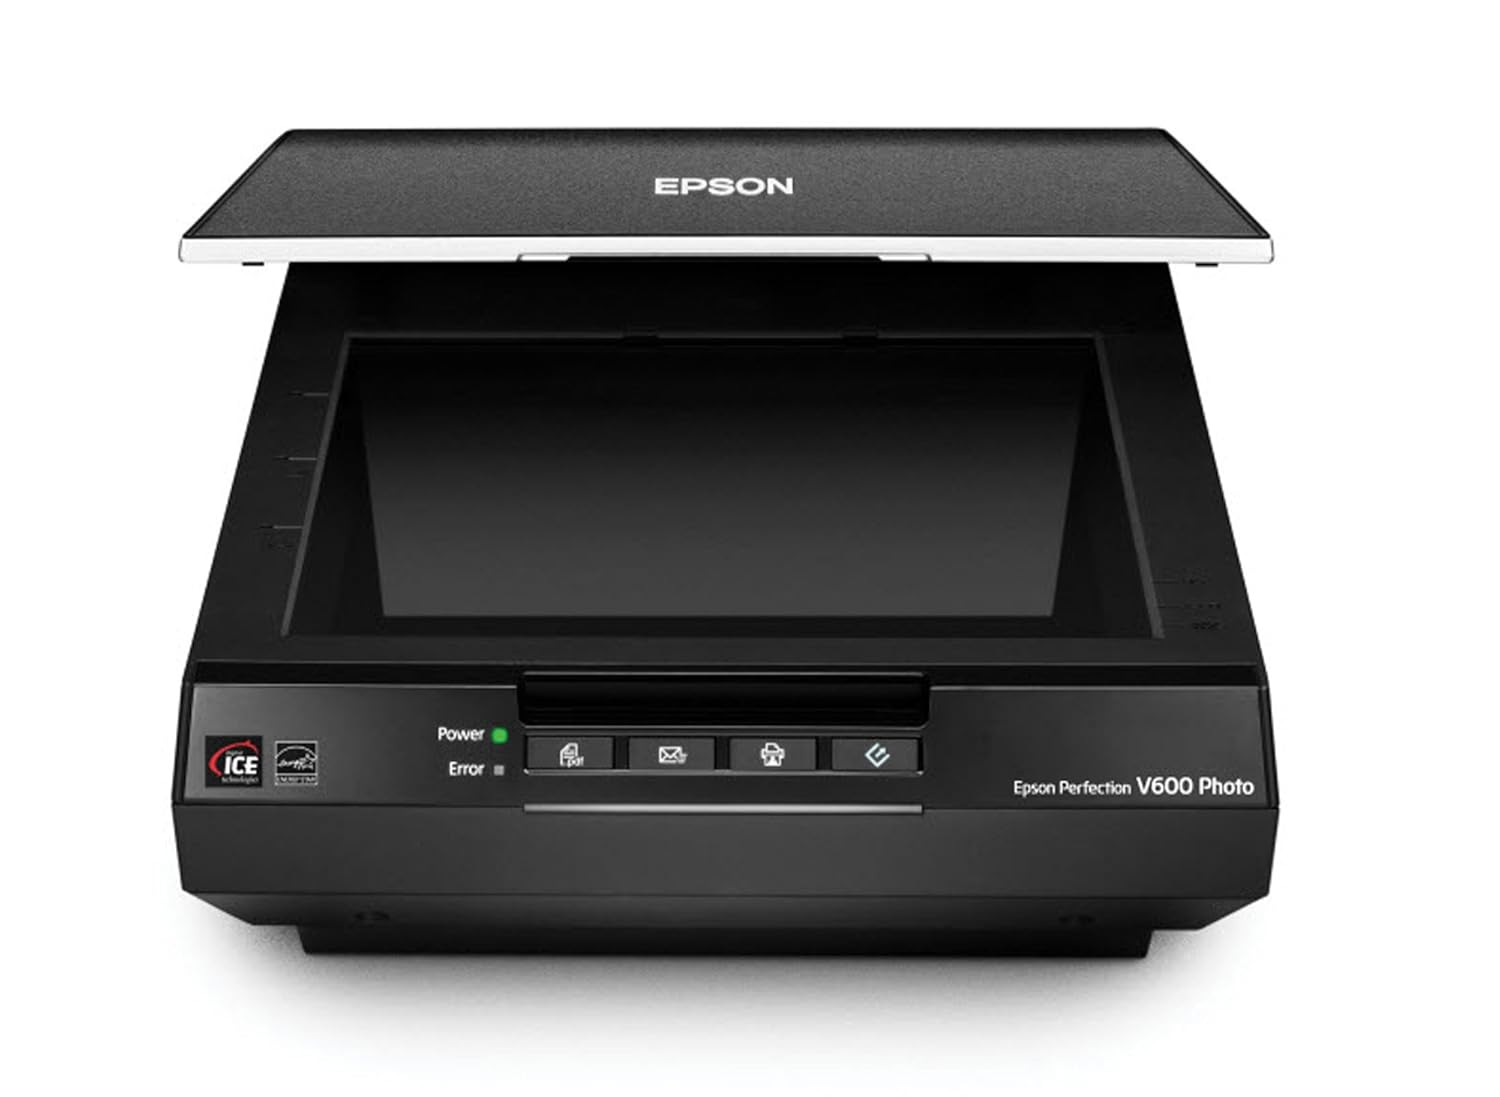
Scanners for 35mm film: Epson Perfection V600, Canon CanoScan 9000F MKII
828 Film
Shortly after the 620 film, Kodak introduced the 828 film. It was an unperforated 35mm roll film with backing paper. It was designed to avoid some of the issues encountered with the early 35mm films. It has a smaller diameter spool and there was no need for a sprocket.
This designed allowed the film to fit smaller cameras. The 828 film was mostly used for Kodak’s Bantam camera series. Other variations of the 35mm film formats with paper backing include the Bolta and the Konishiroku which was made for the Konilette.
APS Film
In 1996, the APS film was introduced. It was an alternative to the 110 format and its cartridges were optimized for fully automatic film load. The cartridge enclosed the 24mm wide film when it is not in use.
Some cameras used for the APS had a light-proof door and a partially exposed film can that can be removed for later use. The film can be put back into the cartridge and the user can have it back after it has been developed.
APS stands for Advanced Photo System and it was mainly used for point and shoot cameras. It was also called the Advantix. It allowed 3 image formats including the panoramic format.
It had a lot of advantages compared to the 35mm film but did not get as popular because of the small film area that made it difficult to create large and detailed prints.
110 Film
The 110 film was introduced in 1972. Its cartridge was launched by Kodak to address similar user complaints about the complicated loading and unloading of roll film cameras, much like they did for the 126 film. They made it easier to load the film and it quickly became popular.
The film was smaller in size, half of the 35mm film. However, it was difficult to enlarge and achieve higher resolution scans. It is often associated with prints and scans that are rather dull and grainy.
Scanners for 126 film: Jumbl 22MP All-In-1, Wolverine Titan 8-in-1
Disc Film
Finally, there was the uniquely designed disc film, introduced by Kodak in 1982. It looked like a flat disc and was covered in a plastic cartridge. You could store 15 exposures in one disc and it rotated 24 degrees between each image.
These 15 images were arranged around the disc. However, its small size made it difficult to scan and it went out of production by 1999 and is no longer used.
Three Ways to Scan Film Negatives
You would need some special equipment to scan negatives, however, you can also use ordinary flatbed scanners as an alternative. It’s cheaper and if you’re not very particular about some details, it could still produce good output.
Today, there are specialized negative film scanners available. Some of them are compact and you can use them in your home office or studio. There is always the option to send your negatives to a professional lab but it’s more fun knowing how to scan negatives on your own.
Using a Flatbed Scanner
Let us take a look at this widely used technique. Using an ordinary scanner will not give you great results but there are things you can do to improve your scans. It only involves some materials that you may already have at home.
You would need a bright light source that is coming from behind the negative and most multipurpose scanners do not have this feature. Since negatives require to be backlit, you can use a bit of cardboard to redirect light and produce good quality scans.
Using a flatbed scanner is easy. Just place a negative on the adapter and place it on the scanner. However, I like how Andre Lewis scanned his old films with a flatbed scanner. I summarized it below.
Note: This technique can also be used with high end flatbed scanners like Epson Perfection V600 andCanon CanoScan 9000F MKII.
1. Find a thick silver card stock and cut it into this pattern.
2. Put it over the slide that you want to save so that when you scan it, the light from the flatbed would bounce up into the wedge. The light would then reflect down and provide a basic backlight.
3. Make necessary adjustments using your preferred software, like inverting colors and performing other corrections like dust removal. Most flatbed scanners have automatic dust and scratch removal technology.
The great thing about this technique is that you can teak the design so that it can fit other sizes of film that you have. It would not come out as perfectly as a specially designed film scanner but with a bit of work, you could achieve good quality results at a fraction of the price.
Using a Film Scanner
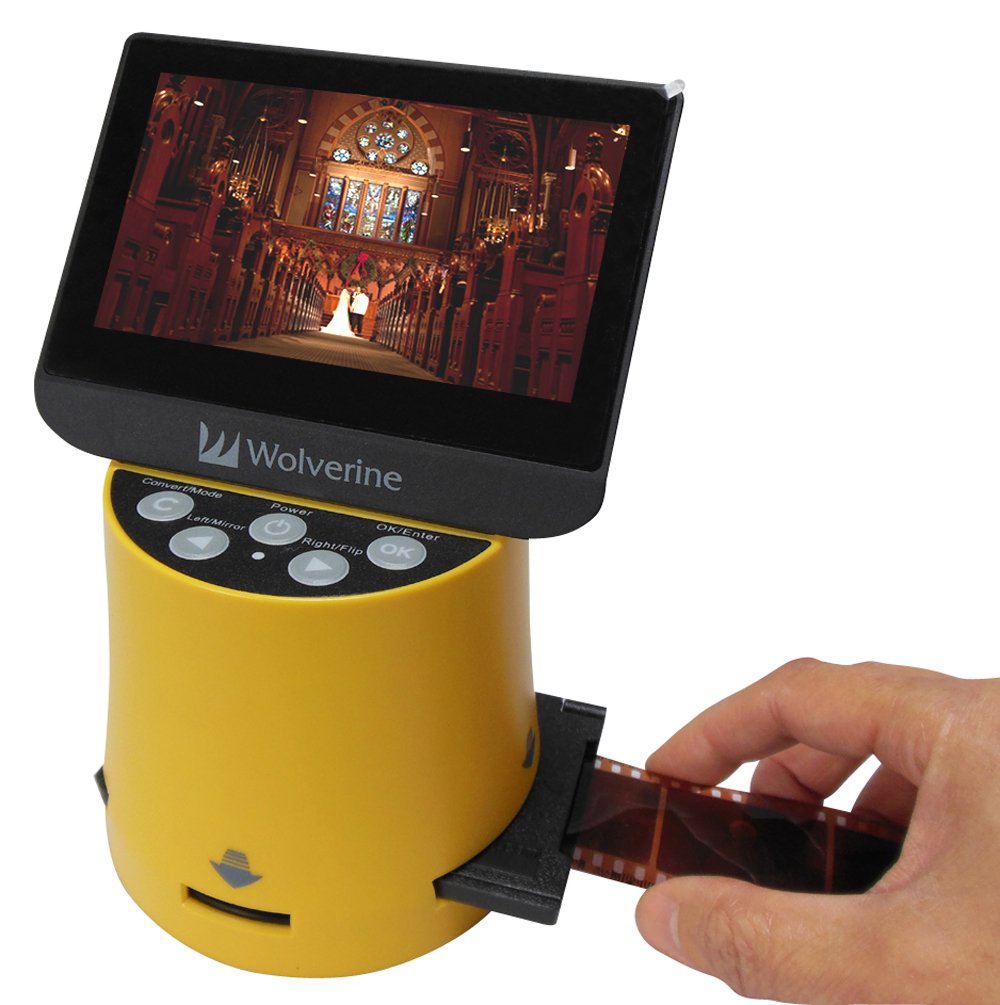
You can always use a dedicated film scanner, which is the easiest way and they come in different styles. Some allow multiple formats and are more versatile. It’s pretty easy to use and it’s normally just a matter of placing your film and the machine will do the rest.
Another advantage is that it’s very fast and efficient. You can get high-quality scans and they can perform up to 4,000 dpi or dots per inches optical resolution. This is a great choice if you’re an imaging professional but amateurs can also learn a lot using this equipment.
Scan times can be as fast as 3 seconds. Sometimes, these scanners can automatically correct your images like the color and contrast. They often come with a compatible software so you can do even more adjustments on your own.
The steps in scanning negatives using dedicated film scanners would vary. Different brands and models may have special instructions but you basically just have to lay out your negatives and letting the machine do the scanning.
Send it to the pros
Now if you don’t have time to scan those bulk of film negatives, let the pros handle it for you. If you have the budget, send it to the pros. What’s great about letting the pros scan your negatives is quality delivery. They know their stuff and have the knowledge about film scanning. In addition, they have the tools!
Below are some of the best scanning services. They can handle multiple film format scanning for you.
Memories Renewed – They offer $0.90 per frame for 35mm film at 4000dpi and up to $5 per frame for large format.
Scan Cafe – They have affordable pricing at $0.33 per 35mm negative.
Go Photo – They offer competitive pricing at $0.44 per negative at standard 2000 dpi.